
This Is How You Can Use Custom Fonts In Android Studio
Beautify Your Project With Custom Font(s)😉


Case Scenario
- When You Are Working On A Project You May Need To Use Custom Fonts As Per Your Necessity. You May Already Know That Android Studio Provides Us Few Pre-Added Fonts In Our Project Which May Not Suite every time😕
Prerequisite
- Before Going To Further Make Sure That
You Have Downloaded Your Necessary Font FilesAnd Extracted Them[If It Is A Compressed File]
Getting Started:
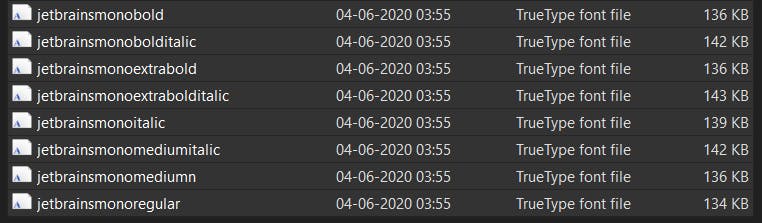
- First Things First,
Copy Those Font FilesWhich You Have Downloaded Earlier As Shown As Below:
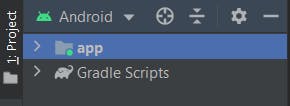
- Now Enter To Magical World Of Android Studio, Extended Projects Panel If It Is Collapsed As Shown Below:
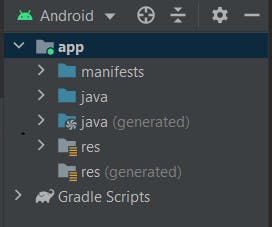
- Now Extended
appDirectory And You Have To See Directory/Folder Named Asres:
- Now
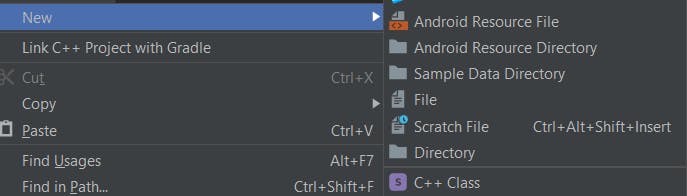
Right Click On resFolder/Directory And You Have To See Something Like This:
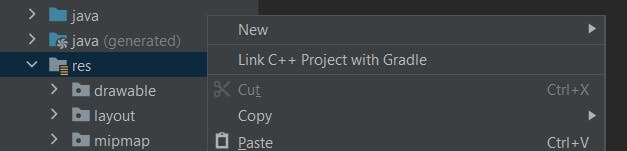
- Now Click On New And Then Click On Directory :
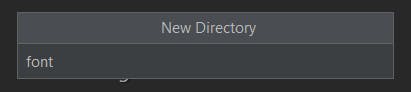
- Now Name Directory As
fontAnd Click Enter Which Will Create A Directory In YourresFolder As Shown Below:
- Now Click
CTRL+VIn Your Keyboard Or Paste Those Font Files Which We Have Copied Earlier; InfontDirectory, And You Have To See This Popup/Dialog Box Shortly After Pasting Those Font Files 👇🏻
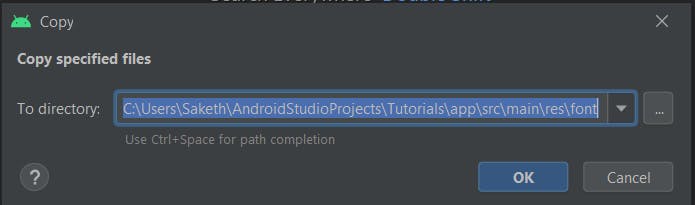
Click
OkTo Paste Those Font FilesMake Sure That Font Files Name Should Be In LOWERCASES ONLYIf It's Not, Just Rename ThemAfter Clicking Ok.Boom👊🏻, We Have Successfully Added Those Font Files In Our Project.
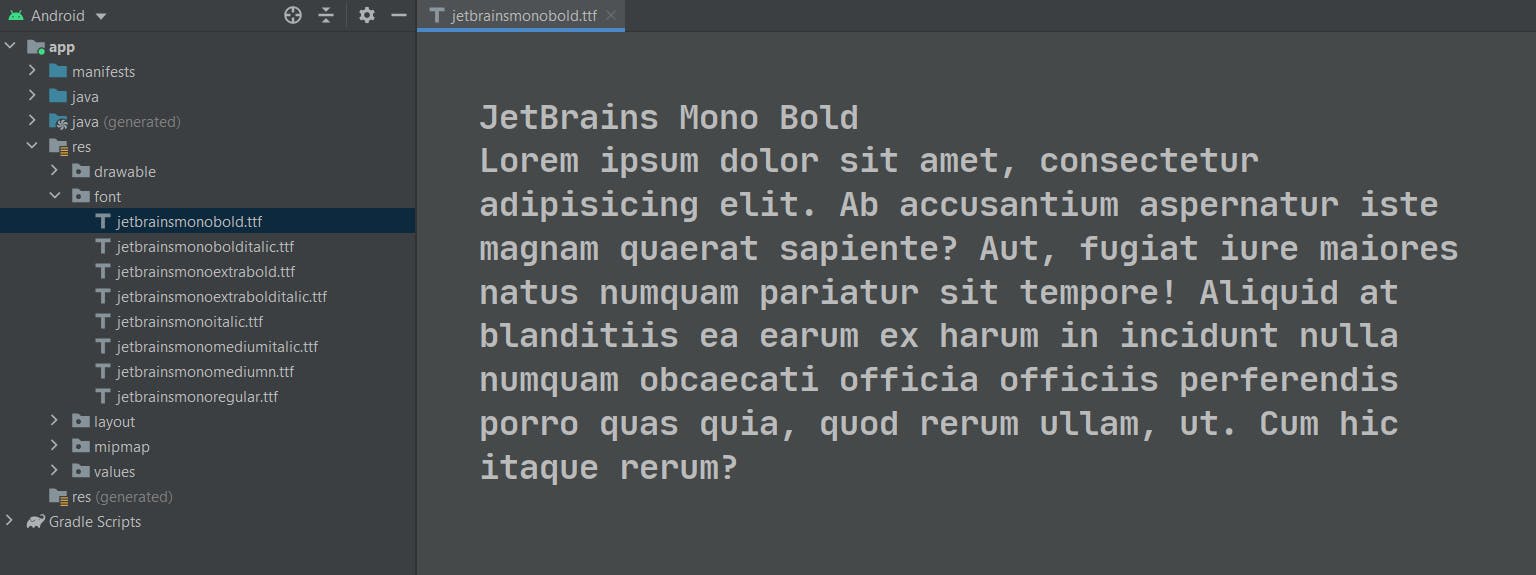
If You Want To Preview Those Font Files Just
Double TapOn Font File Which You Want To Preview As Shown Below:
- Now Open Layout File/XML File And
Add Text View:
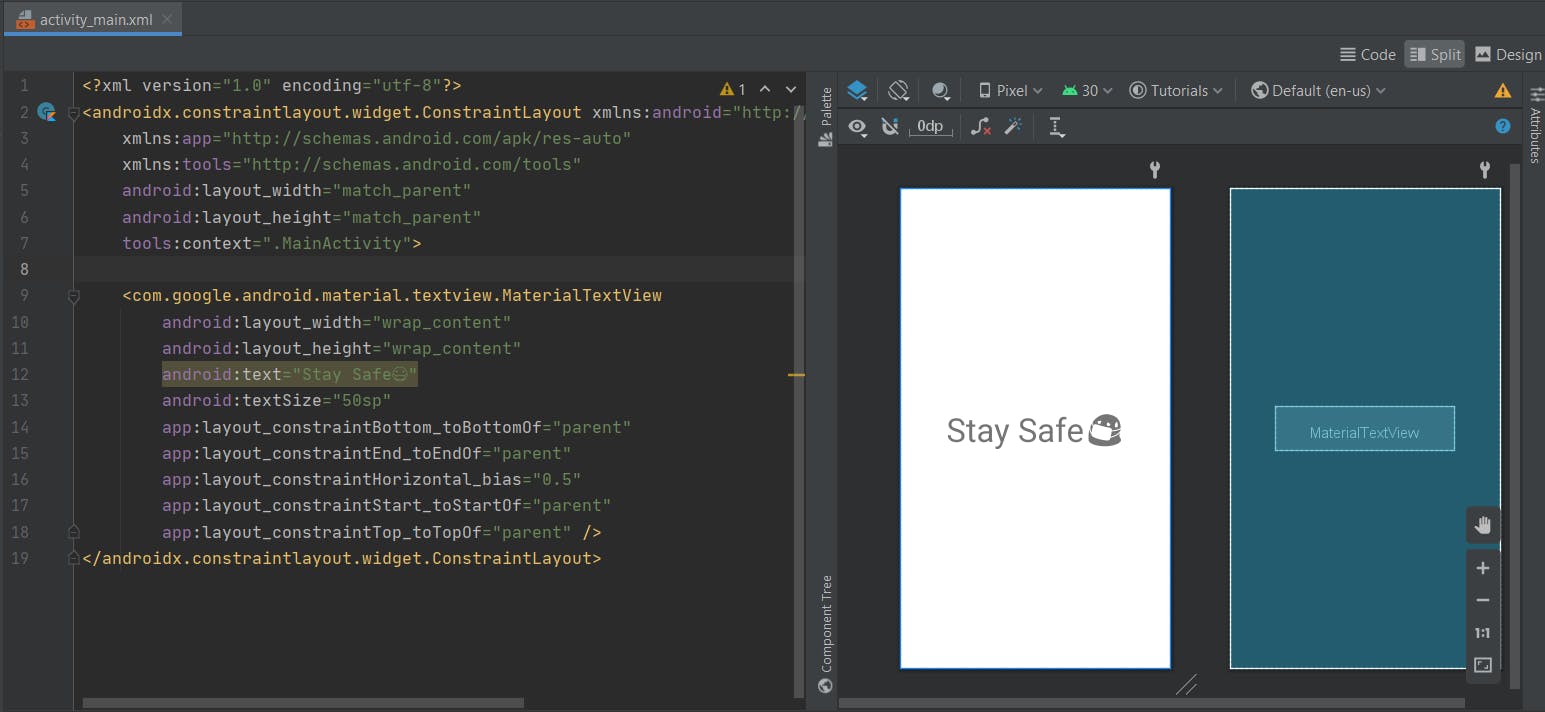
- You Can Actually Notice That Text Font Is Default Font Which we Will Change In Further.
Note1:- In My Case, I am Using Constraint Layout Depending On Your Layout You Can Change Those Attributes
Note2:- You Can Change Font Of Any Text Which May Be Present In Any Element.
For Example:-InButtonElement We Need To Define Text Where We Define Button Usage And Here With The Help Of Same Attributes Which You Are Using For Text View Can Be Used In Button Element To Change Button’s Text FontNow In Your Text View/Other Elements Where Text Can Be Added; Add Font As Shown In Below Code:
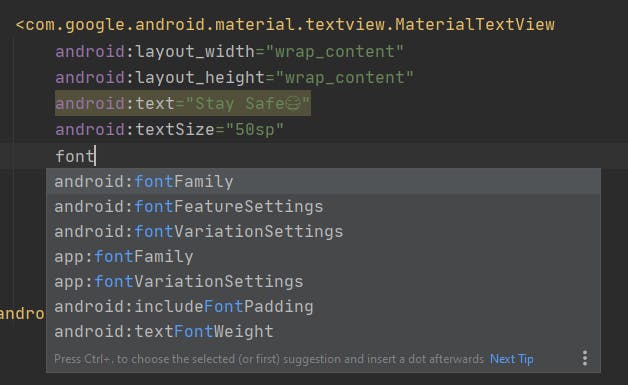
Note:-There Are Two Attributes To Add Font(s), You Can Choose Anyone
First Attribute:-
android:fontFamily="fontfilename"
Second Attribute:-`
app:fontFamily="fontfilename"
And As I Said You Can Only Choose One Attribute In My Case I Have Implemented The First Attribute Which Looks Like Below:

Now Our Layout File Should Look Like This And Also You Can See That Font Has Been Changed in Design View:
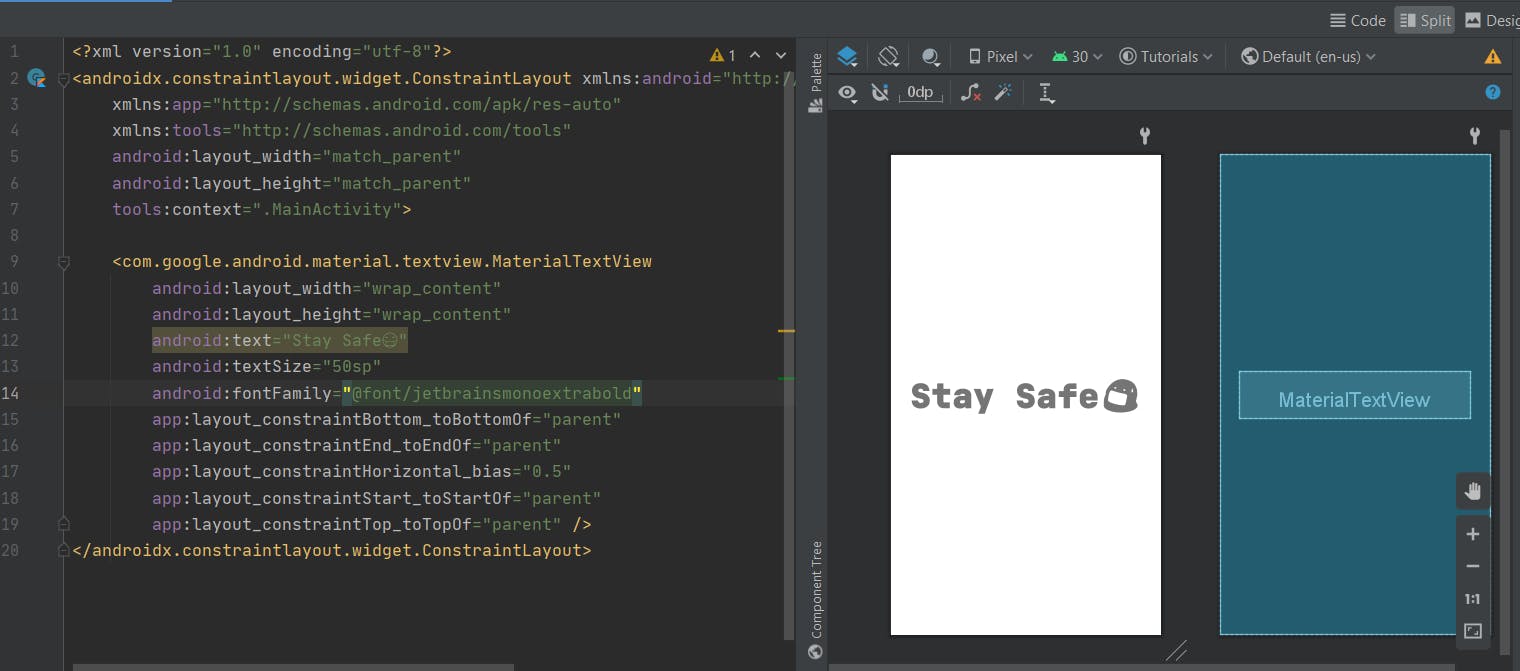
- And There We Go! We Have Successfully Added Custom Font(s) In Our Project🤩
Well, That's All For Now🙌
Bye🤗